
- Create or download a part. Must be an STL file.
- Select a printer that has Simplify3d installed
- in Makerspace: that’s the big-screen computer
- in Finkbeiner’s room: that’s the two computers next to the printers
- Open Simplify3d. If it’s your first time, you will need Finkbeiner to enter his login code to unlock.
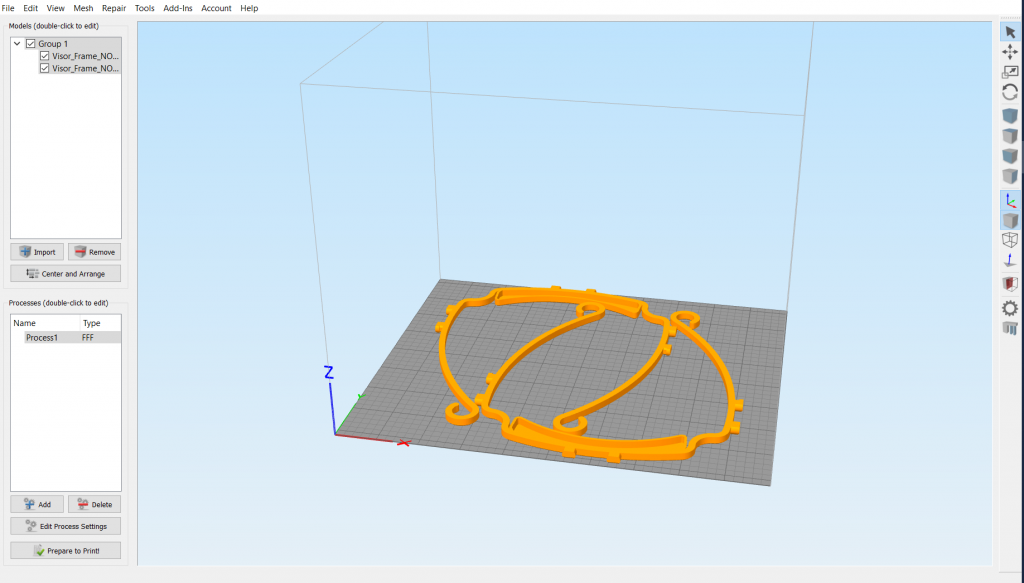
- Import a part
- position/scale the part if needed
- Adjust the profile:
- Select printer (and R/L extruder)
- Select Filament What kinds of filament do we have?
- 90% of the time, it’s PLA
- set Infill amount (min 5%, max 30%
- set Supports (or not)
- Check layer setting: Set shells to 4/3/3
- Check “additions”
- will your part need a “Brim” to stick to the bed?
- Click “Prepare to print”. Preview the print movements.
- Save to SD card or Flash Drive
- Load a part
- Position/Scale the part
- Adjust the Profile:
- Select printer (and R/L extruder)
- Select Filament
- What kinds of filament do we have?
- 90% of the time, it’s PLA
- set Infill amount
- set Supports (or not)
- Check layer settings (how many shells?)
- Check “additions” (brim, etc)
- Slice it. Preview the print movements.
- Save to SD card or Flash Drive
Starting a print:
- Check for tangled filament, is there enough on the spool?
- if not, ask for help loading filament
- Print the file:
- turn on the printer
- Insert the SD card
- use the click wheel to navigate to “Print from SD” and select the part you want to print.
- (wait while printer heats up)
- Monitor and watch the first layer to see if it’s all good.
- If the first layer doesn’t stick down, Ask for help.